| Ok here goes with the photoshop bit......open up the base texture that you just did in photoshop. | 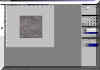 |
| Now you need to create a new
layer. To do this simply click on the new layer icon way down at the
bottem right of the layer panel. It's next to the little bin.
Once you have your new layer, select the brush tool, not the airbrush. Then choose your brush size (almost the smallest). Now you just draw your wall heheheh. remember to try and make the lines at the top and bottom in different locations...the texture will tile better. |
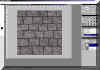 |
| Next you go to layer, effects, bevel & emboss. | 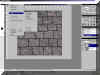 |
| Sellect Pillow Emboss, and adjust the Blur down to 2 and the depth down to 2. Also adjust the Highlight and shadow down to about 50-60. Press ok. | 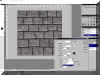 |
| That will give you something like this. Next you need to go back into layer on the menu and go down to layer options. | 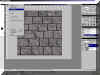 |
| In this menu move the bottom slider ( Underlying, left hand triangle) almost all the way over to the right as I show in the pic. This will get rid of the black lines that you drew for your wall, just leaving the bevel effect. | 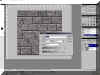 |
| Now, as it is the wall will not tile, the background image will but the lines you drew for the wall will not. To make them tile, you have to have that layer selected (the lines) and then go into the filter menu and down to the Other listing. Then you use the offset filter. | 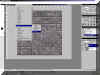 |
| In the offset menu put in about the same settings as you see in this pic. This will offset the layer as a wrap around and show you were your seams are. All you do now is select the same brush as you did the original line with, and edit the layer. Because the layer has the bevel effect on it you will see your changes happen real time. As you can see I have a seam on the left hand side. I just use the brush and eraser to edit these lines so the meet perfectly | 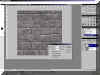 |
| Cool...almost there. Just go to the layer menu again and flatten the thing down. If you want you can add more layers with other filter effect added such as the render texture filter and such, these other filters will be discussed in another future tutorial (I hope hehehe) | 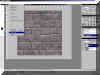 |
| So... there you have it, your finished wall. Just save it in to your texture folder or whatever, put it into texture pack or the global material folder for GenEd2 and you can put it in your levels. | 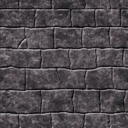 |